By Craig Martin
Imagine the amount of biodiversity information you could amass if you sent 1,000 observers out into the field to record their observations. Imagine the depth of that information if they could use a handheld device to add photos and location data and then transmit that information to a central location!
It’s real. It’s called iNaturalist. Data is collected, you guessed it, with your cell phone with the iNaturalist app. After you set up an account, go for a hike and start contributing to one of the world’s most popular citizen science projects.
How It Works
First, create an account and download the app on an Apple or Android device for easiest access.
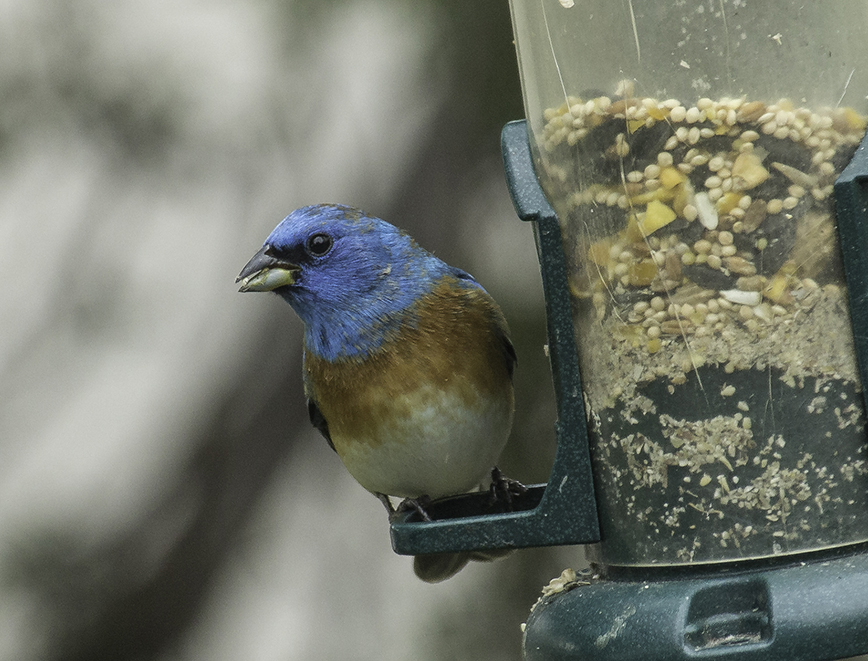
Then, head outside! Find something interesting — a flower, bird, bug, fungi, spider, snake, anything — and take out your phone and power up the app. Look for the plus sign in the lower right corner to add an observation. Take a photo and tell the app it looks okay.
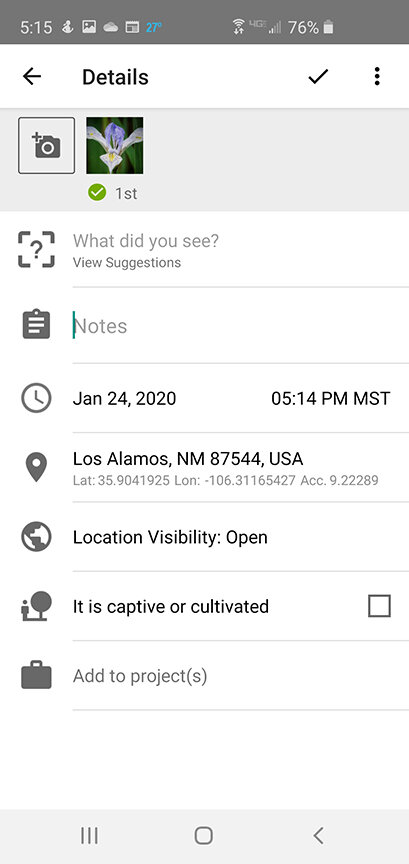
The next screen displays date and time, location, and more, but most importantly it has “What did you see?” with “View Suggestions.” If you touch that box, iNaturalist will provide you with some pretty good suggestions on the identity of your observation. You can disagree and type in your own ID, but the app is accurate about 70 percent of the time for plants and is almost always right for birds and mammals.
Your observation will have a “Needs ID” tag until another iNaturalist user confirms your identification. With a confirmation, the tag becomes “Research Grade.” Other users may disagree with your ID, and hopefully they will tell you why. It’s not foolproof, but at least it is a good indication that you are on the right track. I see an increasing number of scientific papers that use Research Grade iNaturalist observations to track trends in plant and animal populations.
Your observations will be listed on your phone, but they look better on a computer screen. Log into your account at www.inaturalist.org and they all will be displayed. iNaturalist has cool ways to display your observations on a map, in a list, with photos, by date, and sorted taxonomically.
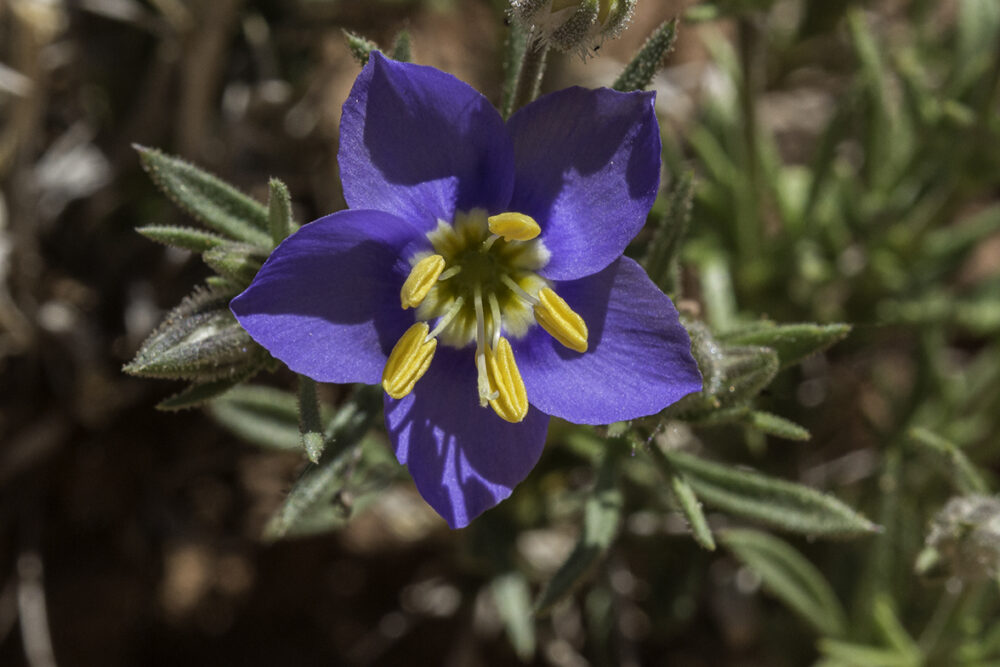
Although there is no formal structure on who reviews observations, there are a lot of users who keep an eye on specific locations, plant families, birds, butterflies, or mammals. For example, I get notified of and review all plant observations from Bandelier National Monument, the Valles Caldera National Preserve, and Los Alamos County. I know if I post an unknown member of the Phlox family, Polemoniaceae, a botanist iNaturalist user at the University of Illinois will help me out.
A Few Pointers
Bird observations almost always get confirmed within minutes, plants and insects may take days or weeks. You can edit an observation and put in more photos, and those always help. (For instance, I won’t confirm most sunflower family members without a photo of the underside of the flower head or the leaves).
Confirmation of observations in New Mexico take longer than those in Arizona and California because there are fewer users here. Although your observations are automatically placed in any project that is focused on a certain area, it helps if you “join” the project.
Be patient with the learning curve, iNaturalist takes some practice. But the amount of information is rather amazing: as of August 10, 2020, the Los Alamos iNaturalist location has more than 4,300 observations of more than 1,000 species!
Thanks … I love the app and appreciate the suggestions for how to use it better!